Using Spring Boot with IntelliJ Community Edition
From my initial introduction to Java back in college, Eclipse has been my primary choice as an IDE. Nowadays however, I feel like an old man every time I watch a developer’s conference. With the cool crowd moving towards IntelliJ, I suddenly felt the peer pressure to use it for a couple of projects.
If you are Spring developer, you may believe that the Ultimate edition is needed. At $150 per year however, it is difficult to justify the IDE switch. But the good news is that if you are using Spring Boot, which you definitely should be, you can use the free version of IntelliJ (Community Edition). Below are the steps.
1. Create Project Using Spring Initializr
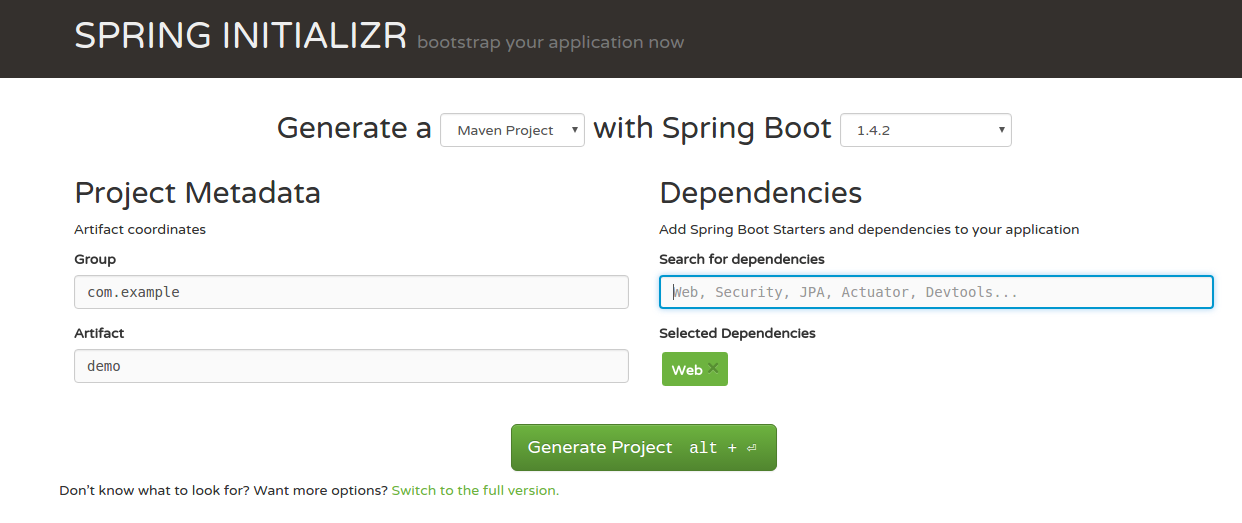
Go to http://start.spring.io/ and create the Spring Boot project with the desired dependencies. Click on Generate Project to generate a zip project file.

2. Import Project into IntelliJ Community Edition
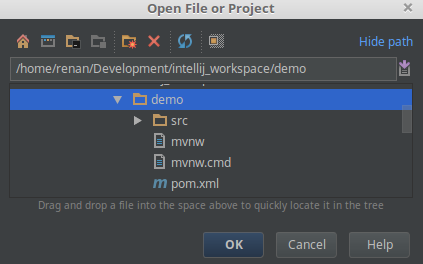
Extract the generated zip file. In IntelliJ, go to File -> Open and select the unzipped project.

3. Execute
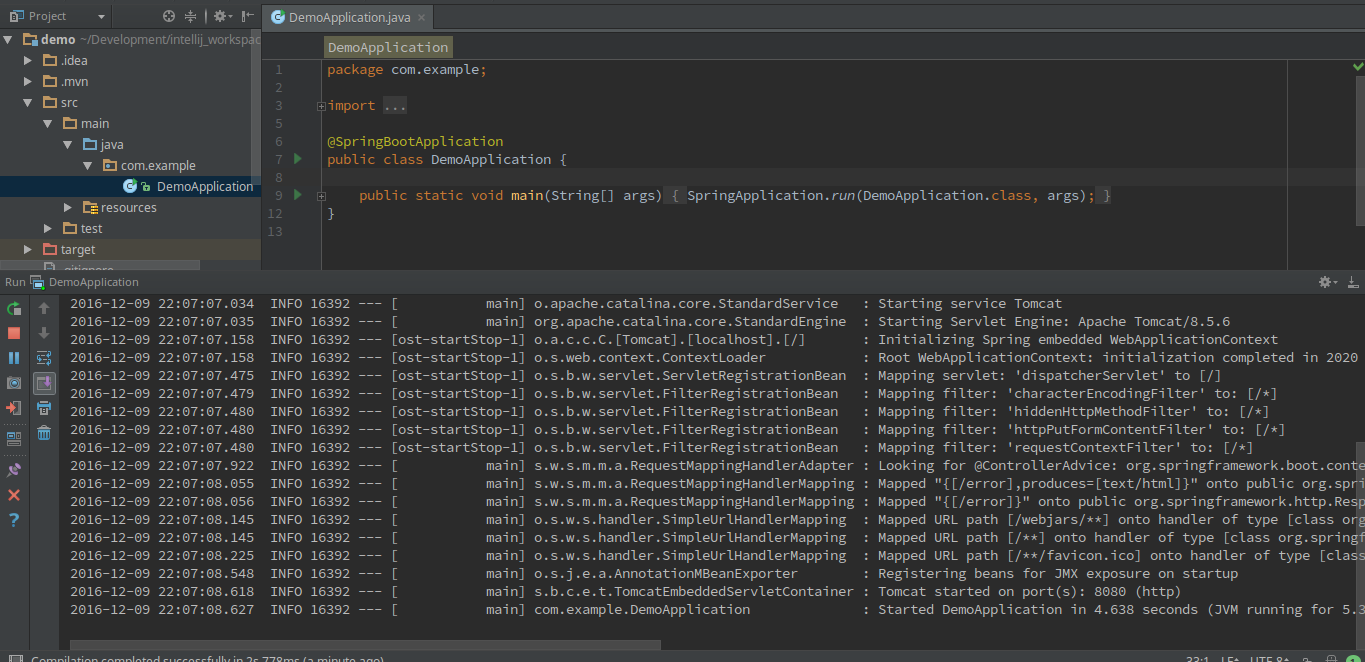
Since Spring Boot creates a fat jar by default, everything including the Tomcat server will be bundled with the Maven project. Simply execute by selecting Run -> Run


